DIY Glittery Clothespins {Monday Made It}

It's time for Monday Made It!  I'm linking up with Tara for this fun linky.

I made a few things for school this week. My first "made it" is this collection of sparkly clothespins.  Oh la la!


Now, I realize that embellished clothespins are nothing new, but it finally dawned on me that it would be a lot more efficient for me, in the long run, to display my students' work using the clothespins as opposed to stapling them in place every month.

Here's a list of the materials I used:
  • Wooden clothespins
  • Neon food coloring
  • Tacky glue
  • Foam brush
  • Glitter (the really fine kind)
  • Clear sealant (I used a spray Mod Podge sealer)
  • Thumbtacks
  • Hot glue gun
First, I soaked the clothespins in a colored water bath. Truth be told, I did this because initially, I painted the tops of my clothespins but thought they looked weird with color on the tops, but not the sides, etc.  I added lots of drops of neon food coloring to warm water and let the clothespins soak for about 3 hours.  Basically, the more drops you use, the darker the color will be.


Then, I let them dry (overnight) and covered the top of each one with tacky glue.  I used a foam brush to spread the glue on the clothespin evenly.


Next, I dipped the gluey side into a pile of glitter and sprayed the whole batch with Mod Podge spray sealer so that the glitter doesn't fall off all over the place.


Finally, I hot glued a thumbtack to the back of each clothespin. Now, I can hang student work more quickly and it will add a dash of fancy to the students' work!


I also made these tissue poms for the wall. I followed the DIY directions that Schoolgirl Style shares {HERE}.


To prepare them for the wall, I glued a piece of card stock to the back of each pom (so I have a flat surface to work with).


I'm going to use 3M mounting squares to attach them to the wall (they are removable, which is good because we are required to strip down our walls at the end of each year, but 3M also makes a permanent version).


Toodles!

Share It:

Back to School Photo Props


I have a fun freebie to share with you today!

 Last year I took first day of school photos of my second graders (and own child). It was really fun printing up the images and sending them home.  I think a lot of parents are so rushed on the first day, that many of them don't even think about taking a picture of their children.

I definitely plan on taking photos again this year, so I made a set of printable First and Last Day of School signs.  The set includes signs for Pre-K through 6th grade. There is also a "generic" sign that reads "First Day of School."

http://primarily-speaking.blogspot.com/p/freebies.html

I printed out these sample pages as I plan on using both. (By the way, I would love to figure out how to take a decent photo indoors....this was taken with the indoors setting!)


I hope you enjoy this freebie!  Click HERE to download your copy. :)

Toodles!

Share It:

A Rockin' Accent Piece {Monday Made It}

Yippee!  It's Monday again!  You know what that means, it means I'm linking up with Tara from 4th Grade Frolics for her super fun Monday Made It linky!

When I was at Michael's one day, I stumbled upon a guitar shaped frame in the wood section.  It was cheap and I just knew I could do something with it in my new rock star classroom.  Here is what I came up with.  I love it!


I am going to use it as wall decor.  Right now, I am planning to place it in the corner of one of my bulletin boards.

Instead of nailing it to the wall, I will be using my favorite hanging tool, 3M hanging velcro.  I LOVE this stuff (I'm pretty sure that I've shared that with you before).

 See, I love them so much, I buy the value pack (and, it's already half empty).  Hehe.

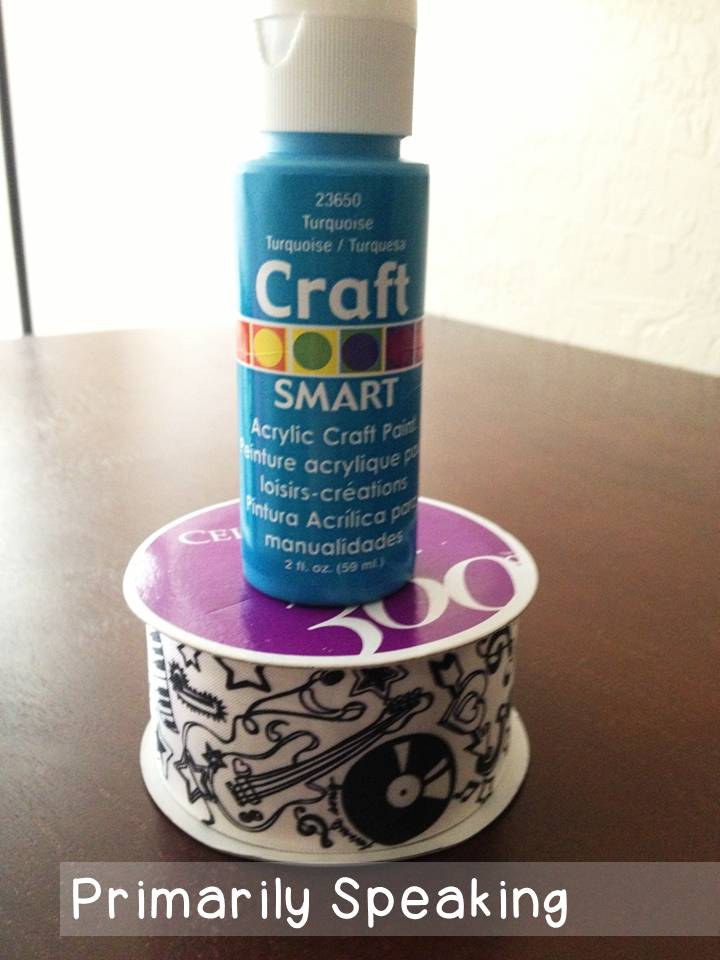
These are the materials I used to make this little gem:


The paint is my favorite part.  It has glitter in it!  What?! I was going to try and figure out how to put glitter in it myself, but as soon as I saw this, I was sold!  I mean, glitter and rock stars go hand in hand!

I also used these materials.

First, I painted the guitar using the turquoise Craft Smart Paint.


Then, I painted the glitter paint over it (it is too sheer to use on wood by itself).


Finally, I cut the scrapbook paper to size and placed it in the photo slot.  I finished the whole project by tying a bow and hot gluing it to the guitar handle.


I loved how it turned out that I made a second one to match!

Share It:

Polka Dots and Zebra Stripes {Monday Made It}

I'm linking up with Tara from 4th Grade Frolics to share some craftiness with you.  So, let me share with you what I've made this past week!

First, I made a new welcome sign.  I love it!!


I also made some new headers for my objectives.  I place these on  my board in sections marked off with black electric tape, and then I simply write the objective for each subject in the morning before school starts.  


Lastly, I made this birthday display.  Last year I didn't display them, and I kind of felt bad about that.  My friend had a similar display last year and I thought  it was great because it really doesn't take up that much space. 


These projects came from my final Monday Made It, my new decor pack, Polka Dots and Zebra Stripes: Classroom Decor Set.  There's a lot more stuff in the pack than I have shown in this post. Click the image to see this pack on TpT.


Toodles!


Share It:

Writing in Style {Tutorial}

Follow my blog with Bloglovin

This week my friend and I got together and made these writing notebooks for our students.


Cute, right?  She said she stumbled upon the idea online somewhere.  If I knew the original source, I would share it with you.  If you know the original source, please let me know and I will give credit where credit is due!!

These notebooks were definitely a quick project, it didn't cost much, and now our students will be writing with the most fashionable notebooks around!

For this project you will need:
  • spiral notebooks (thankfully, our school supplies these, so we didn't have to buy them)
  • scrapbook paper (I just used some extra pages that I already had on hand)
  • spray adhesive (my new best friend)
  • ribbon (we got several cute prints from the $1 bin at Michael's)
  • paper trimmer (or scissors and a ruler if you don't have one)
  • newspaper/old tablecloth/something to cover and protect your counter or table
  • hot glue gun
  • scissors
The first thing we did was lay out an old (ugly) tablecloth to protect my countertop from overspray.

Next, we cut the scrapbook paper to size.  Each page was trimmed to 7 1/8 inches by 10 1/2 inches, but notebooks can be different, so be sure to measure yours first.


Then, we sprayed the covers of the notebooks with the spray adhesive (the greatest craft invention EVER).  We sprayed 2-3 at a time.  Once the cover was sprayed, we placed the cut paper on the notebook cover.  It stuck in place immediately and there were no wrinkles or creases (like you usually get with glue sticks).


Once we finished covering all the notebooks, we then glued some bookmarks to the back page. Obviously, this does not have to be done, but we thought it would make it easier for the kids to easily find their spot as they open their book each day.

To do this, we cut several lengths of ribbon (approximately 14 inches long; we really just eyeballed it).  We hot glued the ribbon to the inside of the back cover and then flipped it over to the front page (like those ribbon bookmarks in journals, or the Bible).


We are going to let our students choose their books and give them a blank address label to attach to the front for writing their name.

One last note, initially I did not want to use these notebooks as my students had a hard time using them last year (the pages are a bit daunting for a new second grader).  But, then, a colleague gave me a super duper great tip at the training we attended last week.  During the first trimester, I will task the kids with writing to the second hole.  During the second trimester, they will be tasked with writing between the second and third hole, and during the final trimester, they will be tasked with writing to the bottom of the page.  And, most likely they will be taught to skip lines (at first, anyway).

I hope this how-to inspired you to make some fun writing notebooks for your kiddos!

Toodles!!


Share It:

A Bad Case of Stripes {Freebie}


This week it's all about review, review, review.  So, I decided to review cause and effect with my kiddos.  Every time I review this skill with them, I am so impressed that they remember what a cause is, and what an effect is.  They are a bunch of smarties!

I hadn't yet used A Bad Case of Stripes to cover this skill, so I decided this week would be perfect for it!  (Click the image to see this item on Amazon).


There are so many different cause-effect relationships in this story, so what I did this time around was read the story aloud, stopping at different parts to discuss cause and effect.  First, I had the students use think/pair/share, then I let volunteers share their answers.

When we finished reading the story, the students made these flap books.


Printed on each flap of the book was a cause from the story (ones I purposely did not discuss during the read aloud).  The students lifted the flap and wrote the effect.  I also had them illustrate each effect on the backside of each flap, next to their description of the effect.  Finally, they colored the front side of each flap.


After we made the flap books, I had the students write their own who, what, when, where, why, and how questions about the story.  We've been working on this lately and the kids really enjoy it.  Since we were pressed for time, I had them write three questions.


Then, I had them cut out their three questions and play Quiz Me (my version of Kagan's Quiz-Quiz-Trade, minus the trade part).  Basically, I gave them 6 minutes to mingle about the room and quiz their classmates. They love these kinds of activities!!

Now, if you've made it this far, you deserve a little something!

Here are the templates I used for this review lesson.  To grab a {FREE} copy for yourself, simply click one of the images below to download them from Google Docs.


Enjoy!!

Share It:

Let's Have a Lemonade Tasting (A Fun End of Year Experience)

Today we had a Lemonade Tasting, and it was so much fun!  I typically do several themed days at the end of the year.  We've run out of curriculum, the kids are in summer mode, and it's an easy way to keep them engaged with meaningful learning up until the end.  So, what goes into a lemonade tasting?  Let's find out!


As the students walked in to the room today, they were greeted with these pink and yellow ribbon streamers.  To attach them to the door frame, I simply taped them with Scotch tape.  Nothing fancy, I promise.  Then, I taped a few lemon slice cut outs to the ends of a few pieces of the ribbon.  You can grab the lemon cut outs HERE.


We started the day by making new words from the words "cold lemonade."  Some really great words they came up with include "noodle," "candle," and "melon."  


This got them ready for the next thing: the lemonade tasting!

We headed outside to our courtyard where I served the students small portions of pink and yellow lemonade.  Small, as in, those are bathroom sized cups.  ;) 


To add a bit of novelty to this experience, I made drink tickets for the students to cash in when they grabbed their lemonade.  This actually helped make sure the process remained orderly.  As a student approached the table, he/she dropped his/her ticket in the provided bucket and then grabbed the matching drink.  They loved their little tickets!


After the tasting, we came inside and conducted a whole group poll to find out which flavor of lemonade was most popular.  The students graphed the results and then answered some questions about their graph.


I gave each student a wristband (card stock cut into strips and labeled "Team Pink" and "Team Yellow") to represent their favorite drink. This helped them to be consistent during the poll.  Second graders sometimes forget their choice when participating in activities like this. Hehe.  Plus, they thought it was pretty cool to sport their paper bracelet for the day.


You can grab the drink tickets and bracelet templates HERE.

After graphing our favorite picks, the students brainstormed words to describe their favorite lemonade and then wrote opinion pieces about which lemonade they liked best.  The opinion pieces were written in these super fun shape books. 


After all that sitting and writing, it was time to get up and move a bit!  We played a game of  I Spy.  We used these lemonade themed money word problem task cards to review our problem solving (and money counting) skills. 


Finally, we practiced our parts of speech skills by completing this lemonade themed word sort.  Some of the words really got them thinking and it was fun to hear them talk it out with their teaching buddies.  The question of the day was whether they should put "drink" in the noun or verb category.  It was so great to hear them think it out.  Ultimately, they decided it went with the verbs so that each category would have an equal number of words.  So logical!   (But, for the record, I would have accepted its placement in either category).


Our Lemonade Tasting was lots of fun!  The kids absolutely loved it!  Best of all, they were engaged in all of the activities and didn't even realize that they were still learning!

All of these activities, plus more can be found in my Let's Have a Lemonade Tasting! pack on TPT. 

What are your favorite end of year themes?

DON'T FORGET IT, PIN IT!


Share It: