
Magic Confetti
It's time for Monday Made It so I'm linking up with Tara at 4th Grade Frolics to share my creations from this past week. I can't wait to see what others were up to!
This week I made some Back to School Magic Confetti. I found this cute idea last summer when I first discovered the magical world of teaching blogs. I place the poem and a bag of confetti on each desk at our Meet and Greet event the Friday before school starts. The best part is, the poem is a freebie on TpT-click the link above!

I printed out a set of poems and trimmed them down to size. I don't know what my exact class size will be, but I made 26 to be on the safe side. Then, I got started on the confetti.
Apparently, I am one smart cookie because I saved my leftover confetti from last year (I never save that kind of thing...E.V.E.R.) and was able to make 19 confetti bags with it! In case you're wondering, I used the small lollipop bags from the baking section at Michael's for packaging; they are the perfect size for this. You get a lot of those small baggies in one package, so I had leftovers of these too!

Since I didn't quite get enough bags with the leftover confetti, I cut up some more and packaged up the 7 other bags I still needed. To make the confetti, I simply took some scrapbook paper scraps and cut them into narrow strips. I bundled the strips together and snipped them into small squares. I realize I could have bought some sequins or something, but truth be told, I had leftovers, I live a modest distance from the nearest craft store, and I would rather spend the $4 on some Starbucks. Ha!
Once I had my bags of confetti, I stapled them closed and hot glued a bow over the staple.

So simple and cute. Our Librarian told me last year that a parent stopped outside her door to read the poem and when she was done she was gushing over how cute the little gift was. Yippee!
What have you created lately? Don't forget to link up with Tara!
This week I made some Back to School Magic Confetti. I found this cute idea last summer when I first discovered the magical world of teaching blogs. I place the poem and a bag of confetti on each desk at our Meet and Greet event the Friday before school starts. The best part is, the poem is a freebie on TpT-click the link above!

I printed out a set of poems and trimmed them down to size. I don't know what my exact class size will be, but I made 26 to be on the safe side. Then, I got started on the confetti.
Apparently, I am one smart cookie because I saved my leftover confetti from last year (I never save that kind of thing...E.V.E.R.) and was able to make 19 confetti bags with it! In case you're wondering, I used the small lollipop bags from the baking section at Michael's for packaging; they are the perfect size for this. You get a lot of those small baggies in one package, so I had leftovers of these too!
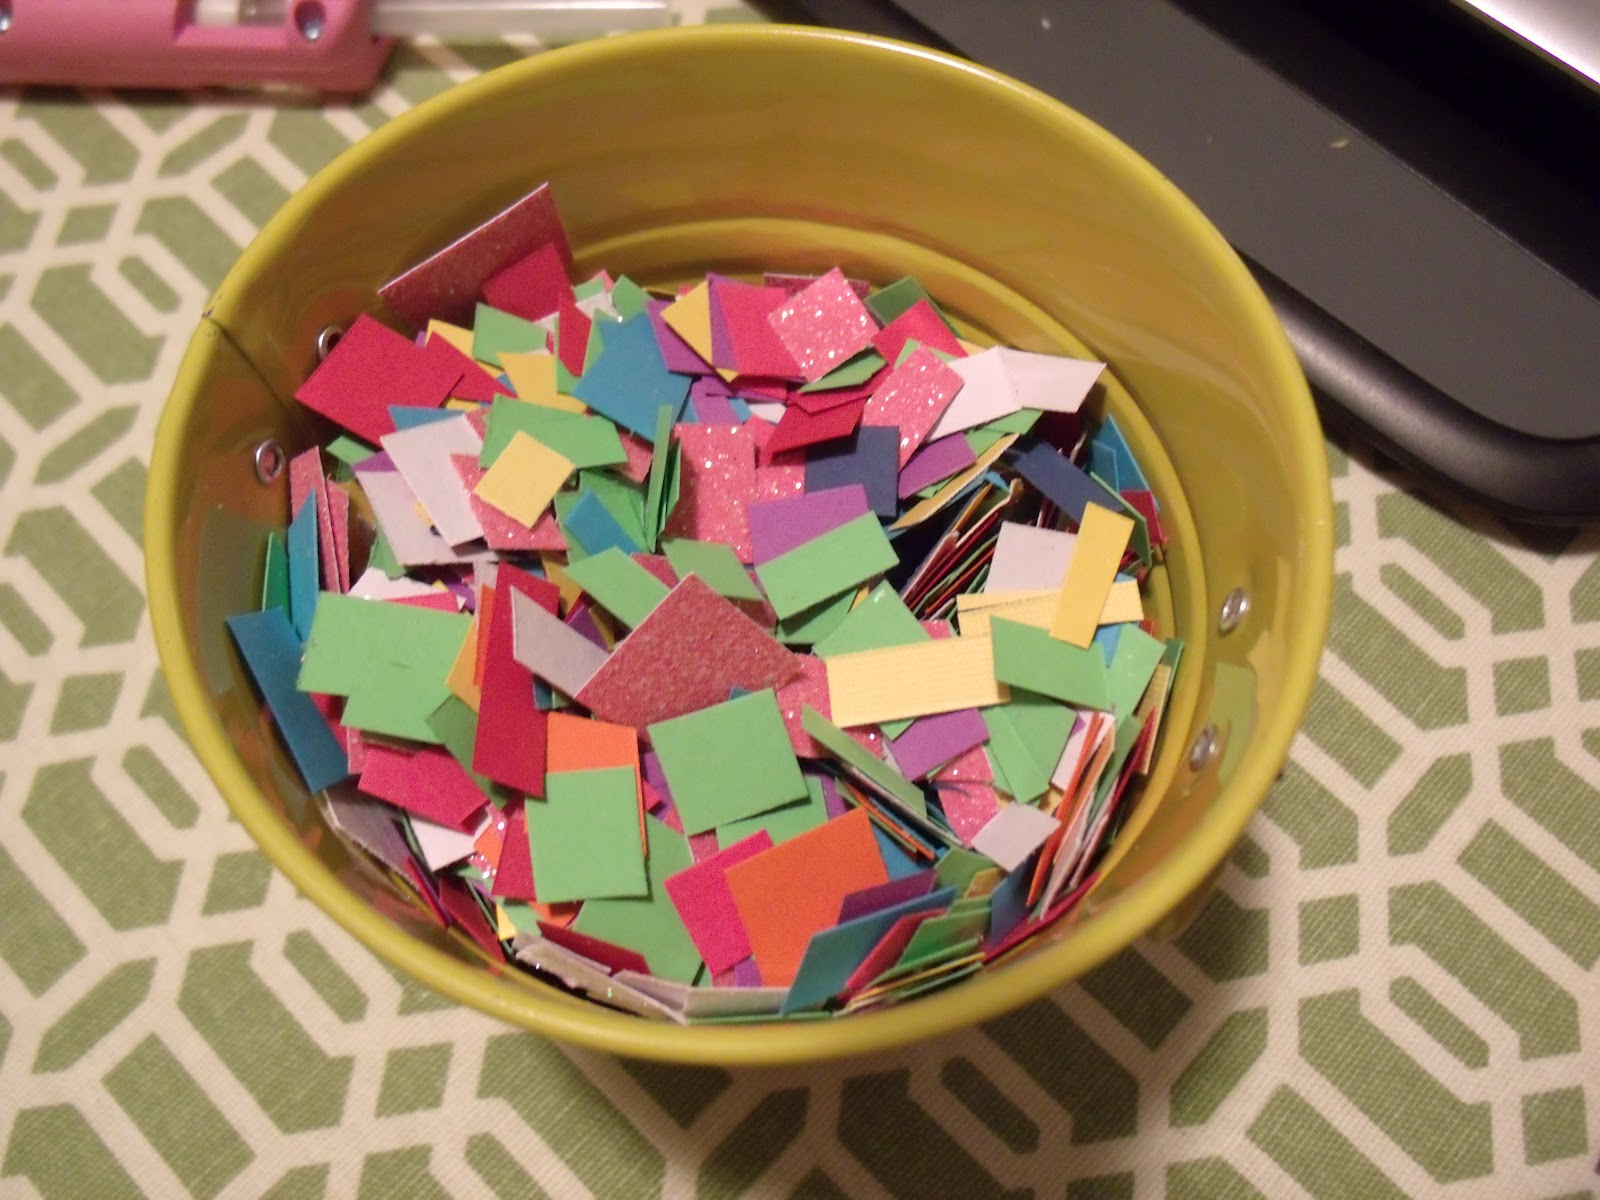
Since I didn't quite get enough bags with the leftover confetti, I cut up some more and packaged up the 7 other bags I still needed. To make the confetti, I simply took some scrapbook paper scraps and cut them into narrow strips. I bundled the strips together and snipped them into small squares. I realize I could have bought some sequins or something, but truth be told, I had leftovers, I live a modest distance from the nearest craft store, and I would rather spend the $4 on some Starbucks. Ha!
Once I had my bags of confetti, I stapled them closed and hot glued a bow over the staple.

So simple and cute. Our Librarian told me last year that a parent stopped outside her door to read the poem and when she was done she was gushing over how cute the little gift was. Yippee!
What have you created lately? Don't forget to link up with Tara!
Share It:


