
DIY Classroom Decor, Part 2
Yesterday I showed you how to make some cute classroom decor pieces using a single sheet of scrapbook paper. Today, I will show you how to make larger accent pieces, without having your scrapbook paper on hand.Yesterday's example was able to fit on a single piece of 12 x 12 inch scrapbook paper. Sometimes I want pieces that are a bit larger. This is always the case for the pieces I feature on my hallway board. They need to stand out and help showcase this large area. I used to make pieces that were several feet tall, but again, I have simplified over the years.
No matter how big or small you make them, the concept is truly the same. You just have to fiddle with your projector until you get the size you want.
Alrighty, here we go!
1. Enlarge your image so that you can trace larger pieces. To make the image larger, simply use whatever function your overhead (or Elmo) might have to do so.
2. Use a manila folder to make some "take home" tracers. If you already have the colors you want/need, then you can trace the different parts of your image directly onto your various sheets of paper.

3. Cut out the tracers and use them to trace each part of the image onto your selected colors. Trace over those pieces with marker, if you like. Cut out each piece.

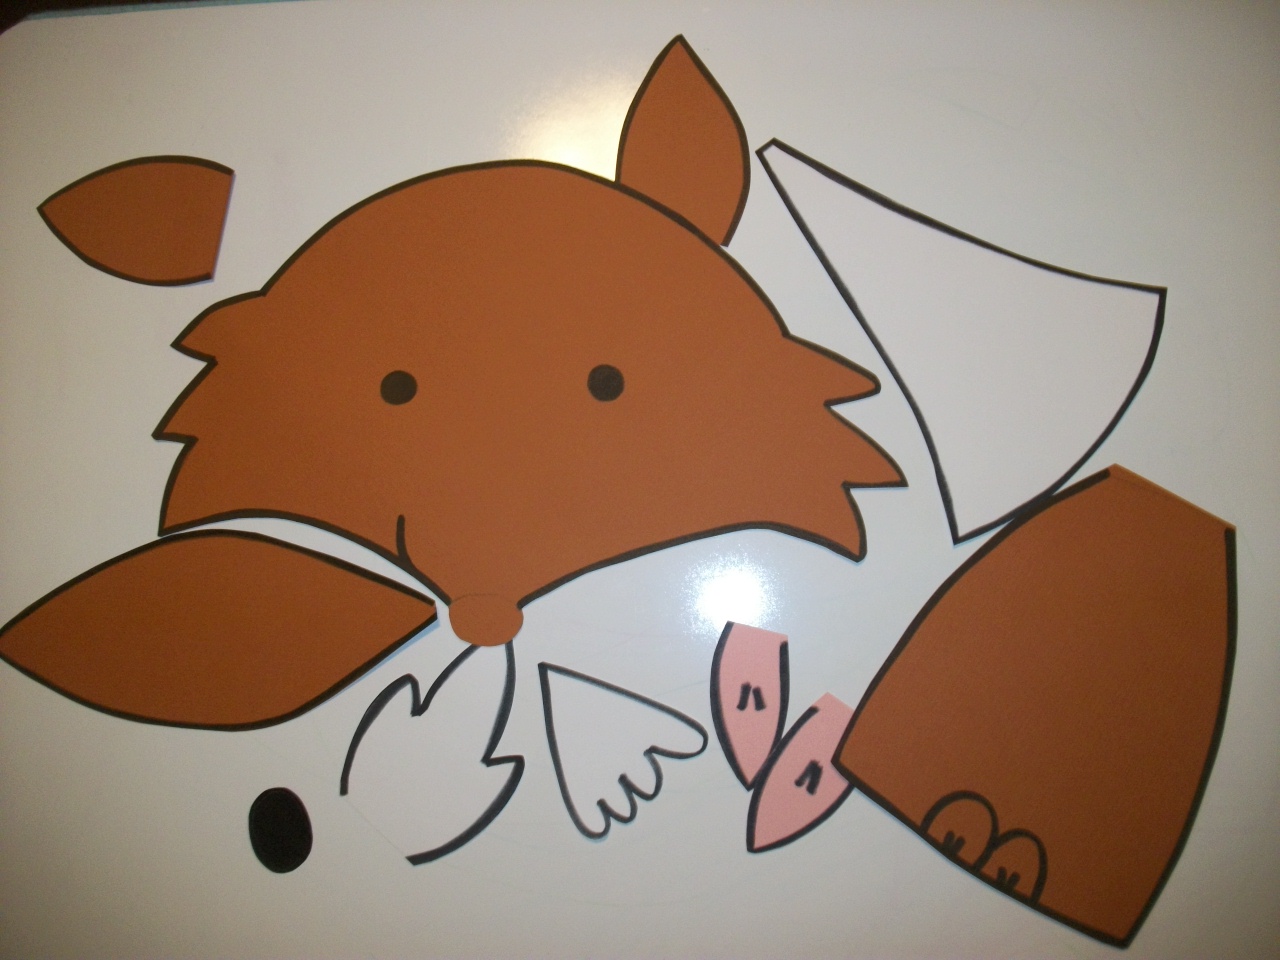
4. Assemble the pieces together, like a puzzle, and adhere with glue (I use the extra strength Elmer's Craft Bond glue sticks because they really hold up). And, ta da....another super cute accent!


Making your own decorative pieces can be so simple, and so much fun! I absolutely love doing them year after year. The hardest part, truly, is waiting until late August when I can finally hang them up and see it all come together. Over the next few weeks I plan on making more forest creatures, tissue paper pom poms for my ceiling, tissue paper pom flowers for the corners of my boards and wall areas, and using my trusty Cricut to cut out some cute phrases. I'm sure that when August rolls around I won't be able to resist sharing some pictures with you!
I hope you enjoyed this DIY tutorial!
Share It:


